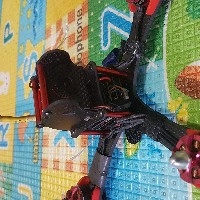
DIY Micro DVR VCR Module Mini Video Recorder Support Record Playback SD Card For FPV Camera Monitor
US$21.99
A part of the review has been auto-translated.

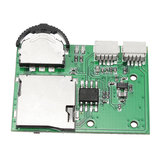
Work as described. But provided pinout is wrong. The correct pinout is in the picture below. Happy flying

EMachine Pro DVR Instructions V0.1 ================================== Button Layout ----------------------------------- | ------------ | | | SD | |---- | | card | |---- | | | |---- CABLES | !------------! |---- | < [] > |---- | Prev Enter Next | |-----------------------------------| Cable Connector Type: JST-SH, 1mm pitch, 2 x 4-pin, 1 x 6 pin Power (3.5V to 5V, 180mA). ------------------------- Apply the power cleanly, otherwise the device may lock up. Device powers up into standby mode, with blue LED ON continuously. Powerup Time: wait 8 or 9 secs, before recording can start. Recordings, following the last auto-save operation (ie. every 10, 20, or 30mins), are lost if power is removed before the recording is stopped. The Menus ---------- . To Enter the Menus: Long press the [] button to cycle between: Video Menu -> Setup menu -> Exit. Video Menu: Size(Video Resolution),Sound Rec (On/Off), Video Time (None,10,20,30mins). (Note: Video Time really means AutoSave time. Recommend set to 10mins). Setup Menu: Format, Language, SysReset, LightFreq(50/60Hz), TV(PAL/NTSC) Recording --------- . To Start Video Recording: Short press > button. LED flashes. . To Stop Video Recording: Short press > button again. LED lights continuously. Playback Mode ------------- . To Enter Playback mode: Long press < button (3 secs). . To Exit Playback mode: Long press < button again. . To select a video: short press < or > and press [] to play it. . To delete a video: select the video and long press [] to enter a sub menu, which includes "Delete Video" and "Volume set". Select Delete Video and then Delete Single. . During playback, press [] to pause/resume playback. . To abort playback, press [] to pause and then press > (or <) to abort. . During playback, press < to play forward at X1, X2, X4 or X8 speed. . During playback, press > to play backwards at X1, X2, X4 or X8 speed. Note: Minimum AutoSave time is 10mins. I'd prefer a shorter option, like 2mins.
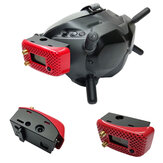
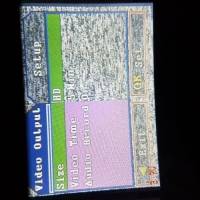
incorrectly connect + and - cable to the key socket, DVR is too hot. I think DVR has burned. Fortunately not burning. This is because Banggood sends a different DVR from the image. different types. And there is no manual. After much effort, DVR can be used and very good, even after almost burning it. I use this DVR with https://www.banggood.com/FPV-4_3-Inch-TFT-LCD-Monitor-Screen-For-RC-Models-p-940817.html?rmmds=category, to show the raster of the receiver when there is no video signal. Not a black screen.


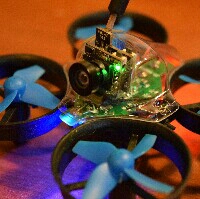
Just a good dvr with smaller size than others. Fit inside my VR007 Pro goggles. Video recorded and saved in .AVI format.


found the Eachine VR006 that i mod with this small recorder. https://m.facebook.com/story.php?story_fbid=186623505483887&id=129559171190321


Pros: - easy to use! - supports 32GB cards (4 class only!!) - overall works very ok! Cons: - only 640x480 :( - doesn't support 10 class microsd cards! - video codec: MPJG - very inefficient compared to other video codec overall 4/5.


DVR piccolissimo ma ottimo per droni racing e per tutte le applicazioni che richiedono leggerezza.....comprato gia' altre volte e sempre soddisfatto.......


The 4th 5th should have been. Please send me one.


As far as I can tell this is the same as the Eachine ProDVR but without a case. If I had my time again I'd buy the Eachine version.

ho preso questo DVR per modificare i miei fatshark! Devo ammettere che per il prezzo non mi aspettavo un risultato tale! È pratico, semplice da usare e intuitivo, la registrazione in tempo reale non aggiunge ritardo all’immagine e questo fa sì che sia possibile usarlo in “serie” alla ricevente potendo interagire con il dvr mentre si vola!! Ovviamente la qualità di registrazione essendo praticamente quella della Cam non è in alta definizione però non posso che ritenermi super soddisfatto!!


Realacc Pagoda Antenna RHCP Right Angle 5.8G 5dBi 50W 75mm Omni FPV Antenna SMA/RP-SMA For RC Drone
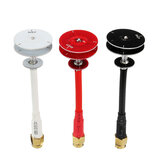
Realacc 5.8G 5dBi 50W Omni Directional Omni FPV Pagoda Antenna LHCP/RHCP SMA/RP-SMA For FPV RC Drone
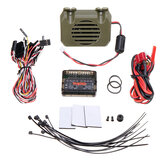
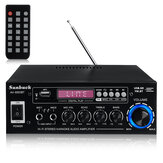
HG TRASPED P402 P407 P601 P801 P802 1/10 1/12 Universal RC Car Parts WE8021 Engine Sound System
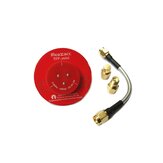

MAPLE Wireless 5.8Ghz 11dBi RHCP FPV Antenna SMA for RC Drone Fatshark Eachine Skyzone Goggles